Climbing Mount Kilimanjaro Tips
Mount kilimanjaro tips
Mount Kilimanjaro – Tips For Climbing The Rooftop Of Africa
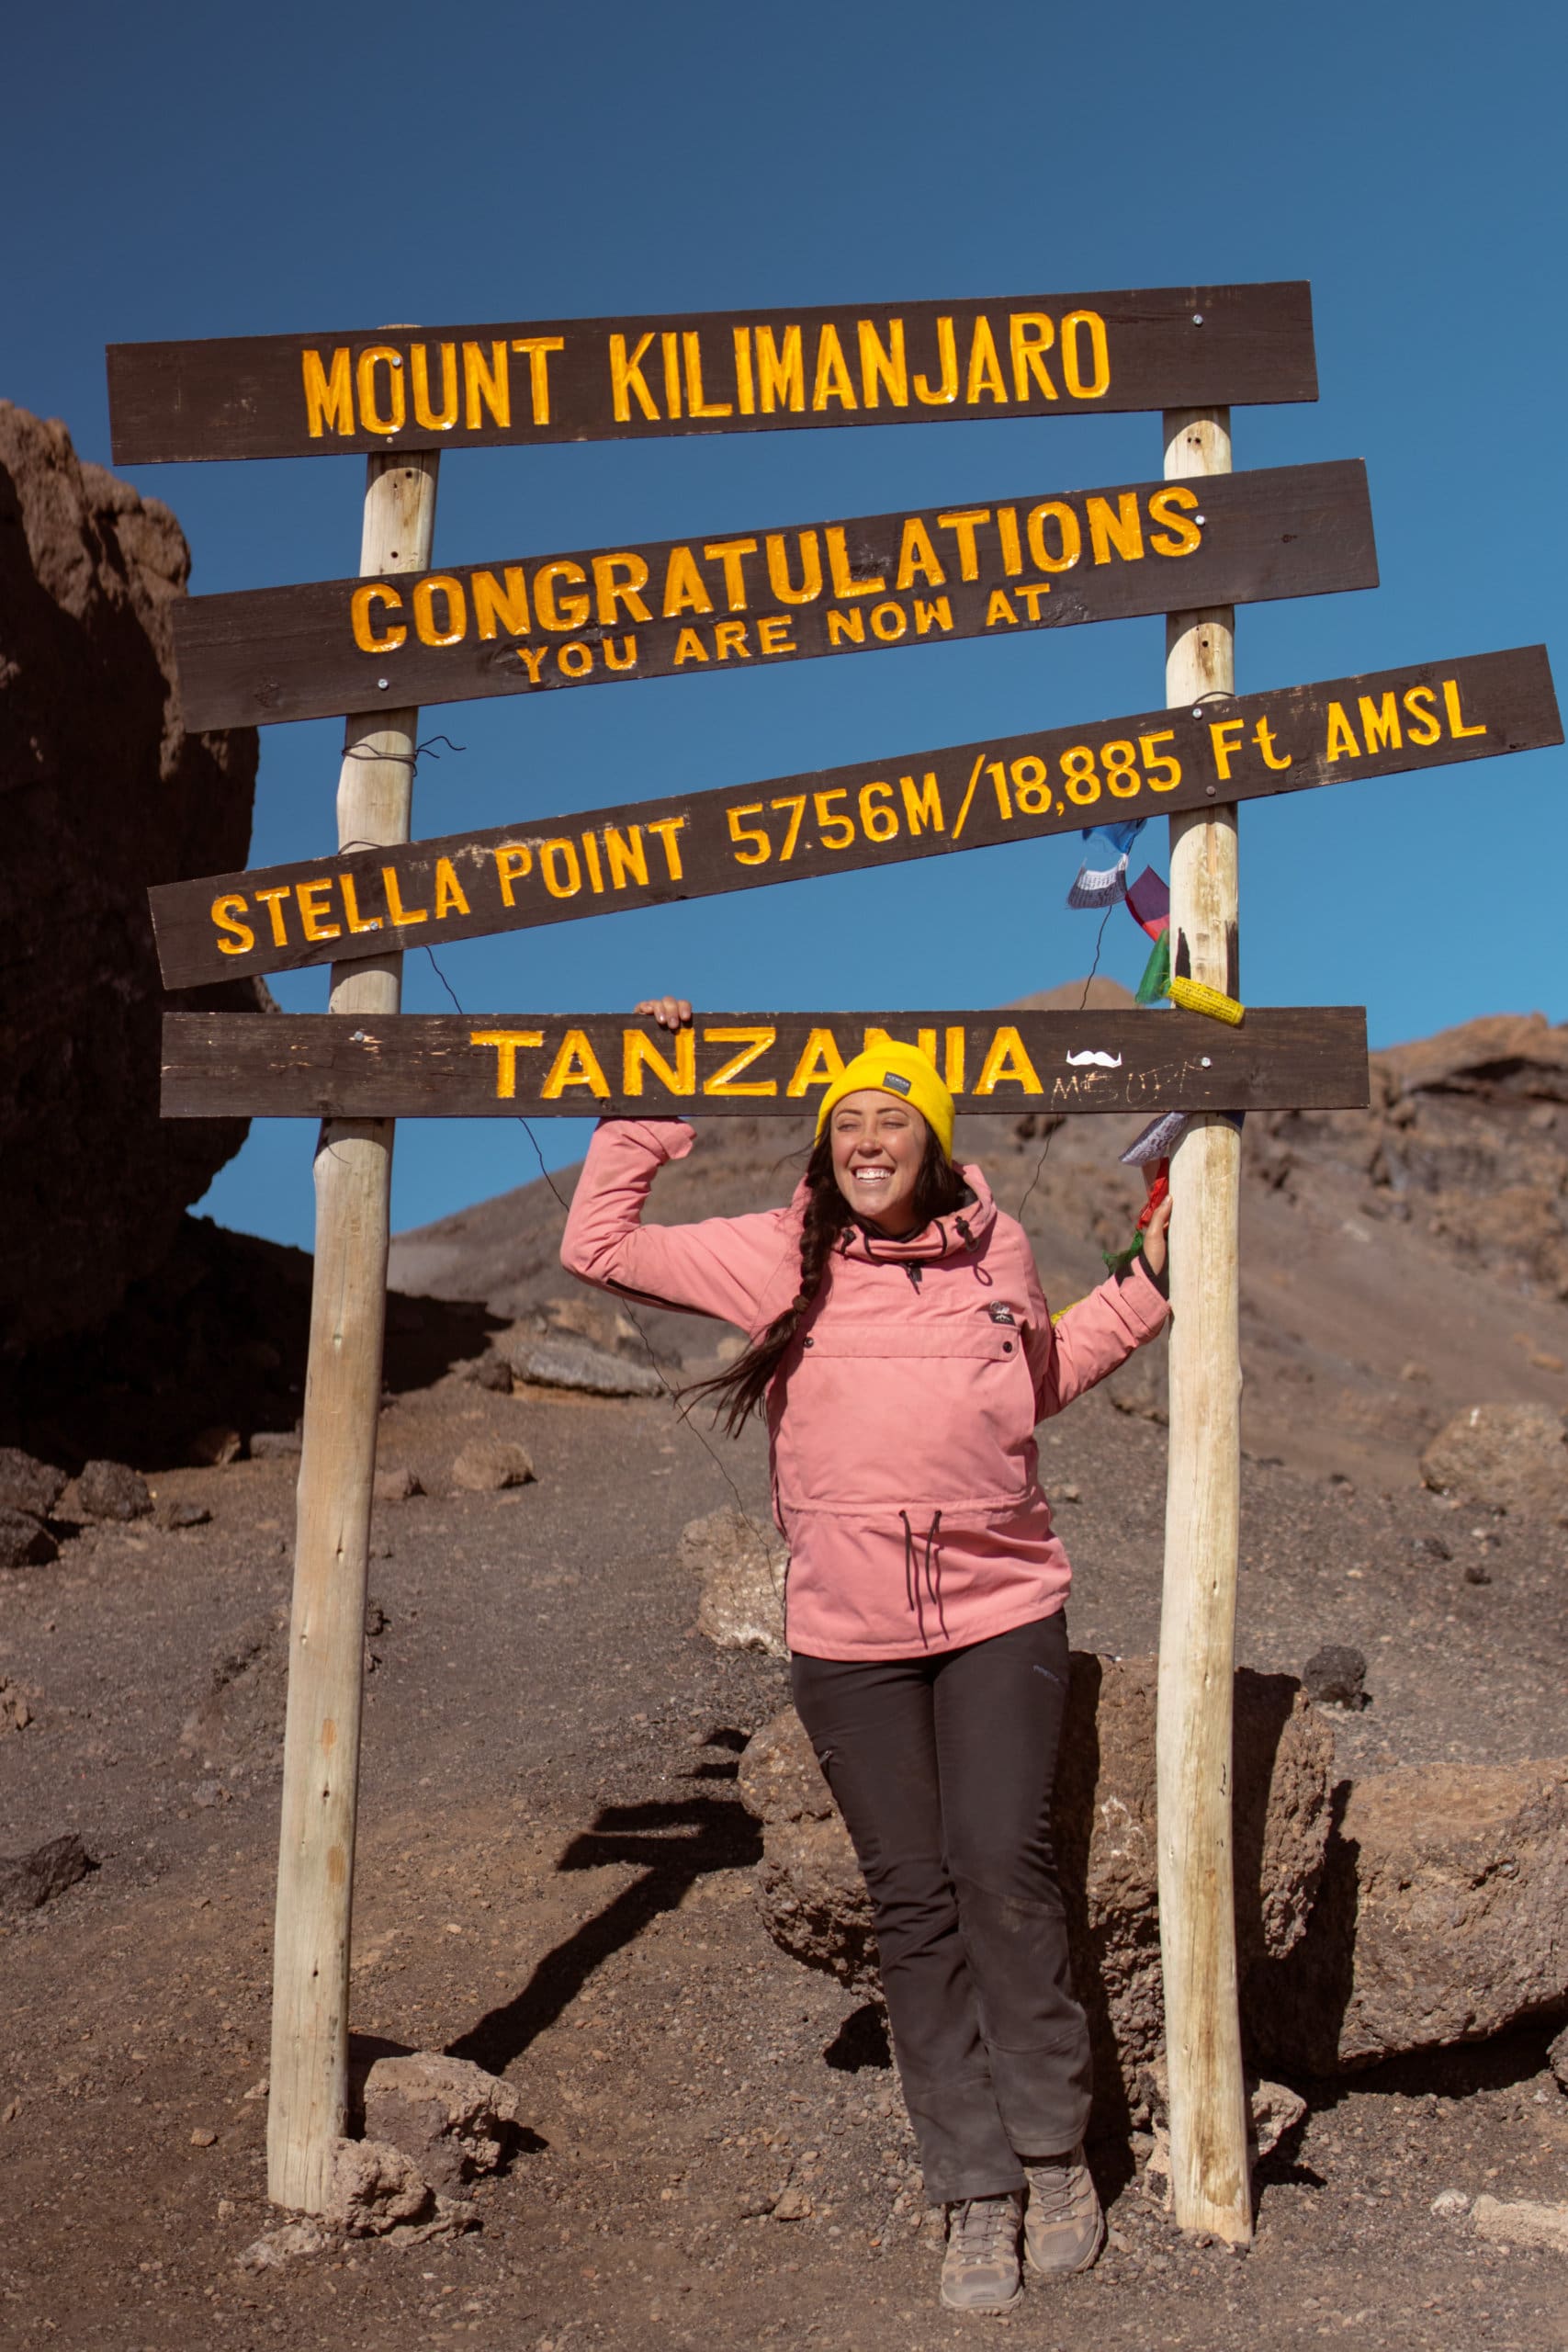
I loved trekking Mount Kilimanjaro so much, I’ve done it twice!
If you’re the adventurous, outdoorsy type you will LOVE this trip.
Read: MOUNT KILIMANJARO GROUP TRIP HIGHLIGHTS: 7 DAY MACHAME ROUTE


Both years while hosting the trip with my company Wanderlust Group Trips we had one of the best guides in the business: Remmy. He has summitted over 500 times and has been working as a head guide on Kilimanjaro for almost 20 years. He works for the company Monkey Adventures but also has recently started guiding his own trips with his company Tastics Safaris. If you’re able to do the trip with Remmy, it will make all the difference on your trek! He’s amazing. After two years of trekking with him, I consider him a dear friend and cannot recommend him highly enough! Reach out to him through Tastic Safaris if you can.

So here are some helpful tips compiled with what I’ve learned from Remmy after summiting Mount Kilimanjaro two times successfully!
(P.S. At the end of the blog post, I’ve included my entire packing list!)
1. Don’t skip taking the altitude meds
With this level of elevation, I wouldn’t even consider skipping altitude medication. There are no adverse side effects of the medication. It will do nothing but help you, especially if you have a strong reaction to the altitude.

2. You can buy altitude pills over the counter in Arusha without a prescription for very inexpensive (cheaper than the states!)
You can buy pills in your home country but often it involves making an appointment and it can be a lot more costly than purchasing them in Tanzania. When you land in Arusha, you can easily enter any pharmacy (just ask your taxi driver to stop) and purchase altitude pills over the counter instantly for just a few dollars.
The prescription you would get at home would most likely be Diamox. In Arusha, you’ll be picking up the generic: ACETAZOLAMIDE.
It works as a diuretic. It helps you make more urine and to lose salt and excess water from your body. However this means you’ll be needing to pee more while on the mountain. So always take it early in the morning instead of at night. That way, you will hopefully be able to sleep through the night without waking up to pee constantly. Your sleep is SO important on this trip. You will need to be well rested for the trek.


3. The porters are incredible and make everything possible. Tip them WELL!
Ask ahead of time for tipping guidelines and have cash ready. Our group tipped $200-$300 a person for all the guides and team of porters! It’s amazing how much they do for you!!
And sadly, working as both a guide and a porter has shockingly low pay, often only a few dollars a day. And once you see how much they do, how many hours they work and how much physical labor is involved… you’ll want to tip them well I’m sure of it!
We gave our tips when we got back to the hotel after the trek so we didn’t have to bring cash with us on the trail. But confirm with your tour operator what they prefer!
Here is a copy of tipping guidelines from Monkey Adventures:
Mount Kilimanjaro standard tipping guidelines
Although larger tips are always appreciated by our staff, they will be extremely grateful if you follow the guidelines for tipping given below. These amounts given below are for the whole group. For e.g, the whole group tips USD 15 to the cook per day. So these costs will be divided amongst the whole group.
- Senior guide : $20 – 25 per day from the whole group
- Assistant guide : $15 – 20 per day from the whole group
- Cook : $12 – 15 per day from the whole group
- Waiter : $10 – 12 per day from the whole group
- Porter : $8 – 10 per day from the whole group
- Summit porter : $12 – 15 per day from the whole group
- Toilet crew : $10 – 12 per day from the whole group
Crew for various group sizes
To calculate tips, it’s important to understand how large your support team is going to be. Below we have listed the crew size from Group of 1 to 10.
- Group of 1 – 1 Senior Guide, 1 Cook, 3 or 4 Porters
- Group of 2 – 1 Senior Guide, 1 Assistant Guide, 1 Cook, 6 Porters
- Group of 3 – 1 Senior Guide, 1 Assistant Guide, 1 Cook, 9 Porters
- Group of 4 – 1 Senior Guide, 1 Assistant Guide, 1 Cook and 12 Porters
- Group of 5 – 1 Senior Guide, 2 Assistant Guides, 1 Cook and 15 Porters
- Group of 6 – 1 Senior Guide, 2 Assistant Guides, 2 Cooks and 18 Porters
- Group of 7 – 1 Senior Guide, 2 Assistant Guides, 2 Cooks and 21 Porters
- Group of 8 – 1 Senior Guide, 3 Assistant Guides, 2 Cooks and 24 Porters
- Group of 9 – 1 Senior Guide, 3 Assistant Guides, 2 Cooks and 27 Porters
- Group of 10 – 1 Senior Guide, 3 Assistant Guides, 2 Cooks and 30 Porters
Expected tip amounts per client for some common routes and group sizes.
| Group of 1 | Group of 2 | Group of 3 | Group of 4 | Group of 5 | |
| 5 Days Marangu | $280 – $350 | $238 – $300 | $198 – $250 | $179 – $225 | $182 – $230 |
| 6 Days Marangu | $336 – $420 | $285 – $360 | $238 – $300 | $215 – $270 | $218 – $276 |
| 6 Days Machame | $336 – $420 | $285 – $360 | $238 – $300 | $215 – $270 | $218 – $276 |
| 7 Days Machame | $392 – $490 | $333 – $420 | $278 – $350 | $250 – $315 | $255 – $322 |
| 7 Days Lemosho | $392 – $490 | $333 – $420 | $278 – $350 | $250 – $315 | $255 – $322 |
| 8 Days Lemosho | $448 – $560 | $380 – $480 | $317 – $400 | $286 – $360 | $291 – $368 |
To help you calculate, here are the tip amounts broken down for each crew member
| Senior Guide | Assistant Guide | Cook | Porter | |
| 5 Days Trek | $100 – $125 | $75 – $100 | $60 – $75 | $40 – $50 |
| 6 Days Trek | $120 – $150 | $90 – $120 | $72 – $90 | $48 – $60 |
| 7 Days Trek | $140 – $175 | $105 – $140 | $84 – $105 | $56 – $70 |
| 8 Days Trek | $160 – $200 | $120 – $160 | $96 – $120 | $64 – $80 |
These numbers were provided by Monkey Adventures but can be applied to any Kilimanjaro trek. Check with your company upon booking if they have suggested tipping guidelines. You can read more about tipping on Mount Kilimanjaro through Monkey Adventures here.


4. Machame route (7 Days) gives you days to acclimatize and has the highest success rate
There are multiple routes to choose from but I love the Machame Route. The hiking days are long but enjoyable.
It also has the highest success rate because on day 4, you hike up to the Lava Tower for lunch then sleep at a lower altitude which really helps your body adjust.

5. Always have your rain gear ready and accessible on your day bag
The weather can turn on Kilimanjaro in a moment. Most packing lists will suggest a poncho and rain pants. However during my two treks, I found having a rain jacket, waterproof hiking boots and a waterproof bag cover was enough.
That being said, I wouldn’t suggest doing the hike during the rainy season.
Aim to hike Kilimanjaro during dry season:
- Beginning of December – beginning of March
- Late June through the end of October
I did both my treks during July and the weather was lovely!!

6. You will be well fed but have snacks for between meals & summit night
All your food is provided on the mountain by your chef and crew of porters.
However, you’ll probably still want some snacks from time to time.
Keep a few protein bars and snacks in your bag for each day.
Sometimes if your group is hiking more slowly, it may push back what time you get to camp and will end up hiking on an empty stomach until you get to camp. Always have a protein bar handy!
You’ll also want snacks for summit night. Most likely, you will leave around midnight and hike all through the night and the next morning. I also suggest putting liquid IV in your camelback.
7. Pack good sunglasses, sunscreen and SPF chapstick
The sun will be intense. Both times I have hiked Kilimanjaro, people got severely sunburnt.
Don’t forget to put sunscreen on your hands especially if you’re using trekking poles. Some of the ladies fried their hands quite badly.
The worst for me, by far, was my lips! They were so burnt and dry. They peeled terribly after summit night. This was partly because it’s so dusty heading down the mountain after the summit. So make sure you have multiple SPF chapsticks on hand.
And I would also advise bringing a bandana to cover your nose/mouth for the descent. You will be ingesting a lot of dust otherwise.

8. Hand and toe warmers for summit night
For me, the worst part of my first summit night was my cold fingers and toes. They were miserably cold.
The following year, I was determined not to make the same mistake.
I brought enough hand and toe warmers for me + everyone else in the group! Happy to report, I was warm enough the second year.
These hand warmers are the exact same ones I use and recommend.


9. Keep technology close to your body on summit or it will freeze
Camera batteries and cell phones will likely freeze on summit night if not handled properly.
You’ll want to take your camera battery out and keep it close to your body heat. I personally hiked with my GoPro and camera battery in my sports bra. Both made it all the way to the summit just fine.
For my phone, I kept it off and only turned it on when I wanted to record something. And I kept it in a case that had a string which wrapped around my neck/body so it was inside my coat and close to my body heat.
Cold drains your batteries much faster so be mindful of that!

10. Learn how to use night mode on your phone- the stars are CRAZY BEAUTIFUL
The stars on Mount Kilimanjaro are simply stunning. It’s such a clear view of the night sky with very little light pollution.
Before your trip, try googling and make sure you know how to use your night mode on your phone. If you have anything after an Iphone 13, you should be able to get some great shots especially.


11. Having a positive attitude is EVERYTHING.
Tell yourself it will be hard but you can do hard things.
This will be a challenge. Embrace that parts will be difficult but you can do it!
12. Pack biodegradable wet wipes so you can wipe yourself clean at your tent each night
You may also want a small bar of soap. After multiple days on the trail, you will want to be able to freshen up!
The porters will bring water to your tent for washing but it’s nice having wet wipes.

13. Prepare to take it SLOW. Or as the locals say “pole, pole”
Because of the altitude you’ll be hiking slowly. It’s not a race. And any experienced guide will not let you go quickly. You’ll be surprised how differently you have to hike at such high altitude. It’s all about taking slow, steady, small steps.

14. Rent gear in Moshi
For both years, I have rented gear from AT Geartz in Moshi.
I didn’t want to fly with a sleeping bag and for the second year, I was flying from a warm destination and didn’t have a summit jacket.
AT Geartz will drop off the gear at your hotel if you’re staying within Moshi. Both years I stayed at Lindrin Lodge before the trek which was a great option!
You can also go to their store in Moshi and pick which jacket or pants specifically you would like to wear for the trek. If they drop off a wrong size, you can go into the store to swap for free or try on other gear.
You can get a 15% discount at AT Geartz with code: MONKEY15

15. Invest in good quality hiking socks (+ Warm ones for summit!)
I personally use and love Darn Tough socks.
But you’ll want a warmer pair of socks for summit night- my feet froze the first year!! I wore my regular day hiking socks on summit night and it was a very cold night. My toes were numb for hours and it wasn’t fun.
The second year, I wore double wool socks and it was much better. Keep in mind, it will make you more cold if your shoes are stuffed too tight.

16. Schedule to start your trek on a weekday to avoid weekend crowds
The first year I went we started our trek on a Saturday and it was certainly more busy.
The following year we started on a Monday and often felt like we were the only people on the mountain for many hours at a time!
I never felt like the weekend crowd was too much but if you’re looking for more solitude, try scheduling to start on a week day.

17. No special training or skills are required.
People of average fitness can do this trek! It’s hard but amazing!!!
The slower you hike, the better you’ll acclimatize. A good guide will actually prevent you from hiking fast.

Mount Kilimanjaro Tips
18. My Kilimanjaro Packing List
Here is everything you’ll need for a successful trek.
Your bag weight matters so do not overpack. I can’t stress this enough. Plan to rewear a few shirts and pants. And cut any unnecessary items.
Typically you’ll want to carry between 2-3 liters of water during the day. Any more will be way too heavy!


Mount Kilimanjaro Tips
Let me know in the comments what other questions you have!
Best of luck on your trek, you’re going to love it.

Interested in other high altitude treks? Add the Inca Trail to your bucket list!
26 TIPS FOR TREKKING THE INCA TRAIL TO MACHU PICCHU
